Wedding ring for a man
I am currently creating engagement and wedding rings for a couple. They were both keen on having twig designs, but opted for very different looks.
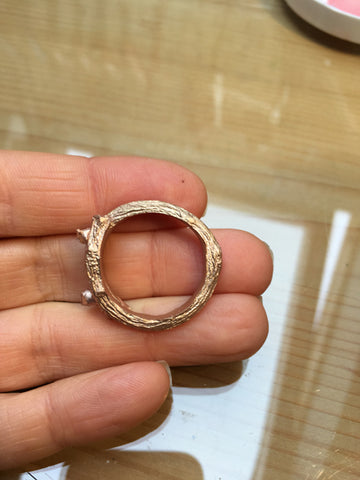
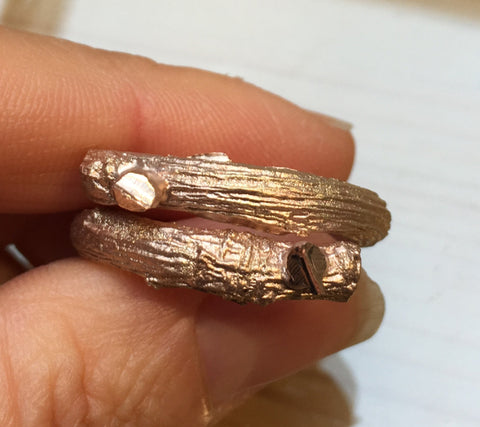
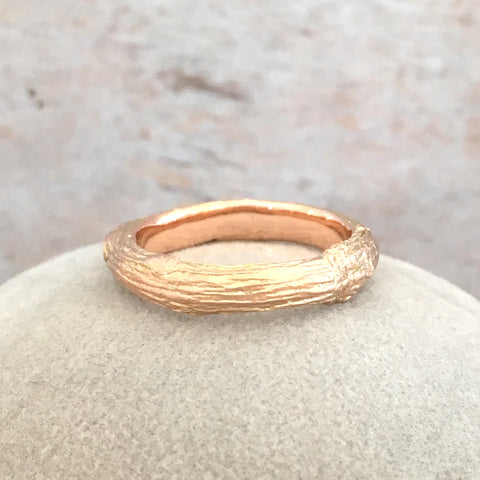
For the groom I created quite a heavy ring with a crab apple woodgrain on the outside, in 9 carat rose gold. We explored many different twig textures but in the end went with the crab apple as it had a strong woodgrain texture.
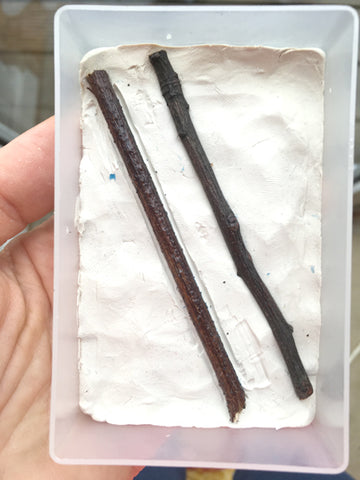
In order to make the ring, I first created a silicon mold to cast the twig, using just over half the thickness of the twig to create a chunky band with a flat side.
The process for creating a bespoke mold:
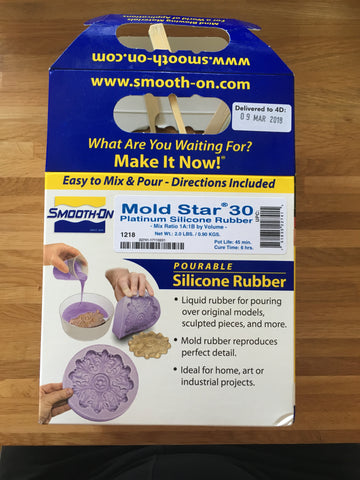
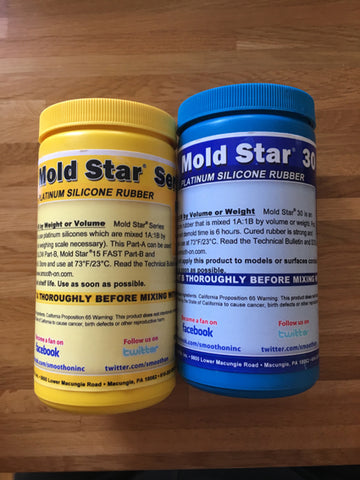
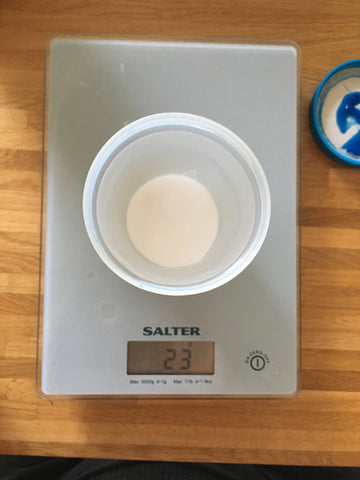
First, I put the twig in a shoebox into which I sprayed a release agent which coats the twig and helps prevent the twig from sticking to the silicone mold. While that was drying I put some white plasticine into the microwave to soften and then pushed that into my molding container and evened it out as much as possible. Then I put the twig on the plasticine and pushed it down by about a third of its thickness so that it would stay in place. I then sprayed the plasticine and twig with the release agent to ensure that the silicone would not adhere to the plasticine. For the mold I used the 2-part Mold Star 30 which you mix in equal quantities. This is a slow setting mix but creates a very detailed impression of the twig and all its grain and texture. I poured this mixture into the container and left it to cure for 24 hours.
The next day i removed the silicone from the container. As long as you use some form of firm but slightly flexible plastic it is possible to extract the silicone mold from the container without damaging it. The mold was ready to use.
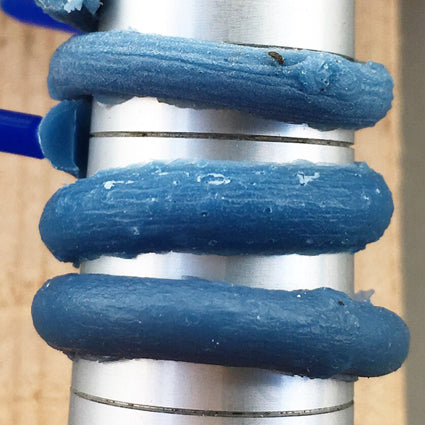
I heated some blue wax in my little Turkish coffee pot and poured it into the mold. I then use a plastic flat edged spatula to ensure that the wax on the open edge of the mold is as flat as possible. At this stage it's important to watch the wax in the mold closely. As soon as it looks hard enough to hold itself together, I take it our of the mold and wrap it around my ring mandrel in a spiral, around the marking for the size I'm aiming for. This will help when you are making the ring as you will have a cast piece which is already formed almost into a ring.
WARNING: you need to be very careful when handling molten wax as it can cause severe burns. Use stable and heatproof work surfaces and make sure you do not spill any wax on yourself when pouring it. I use an old pair of leather gloves in order to protect my hands when doing the pouring.
I usually cast several and then choose the one that looks the most accurate. There can be some that fail but I save the wax and re-melt it.
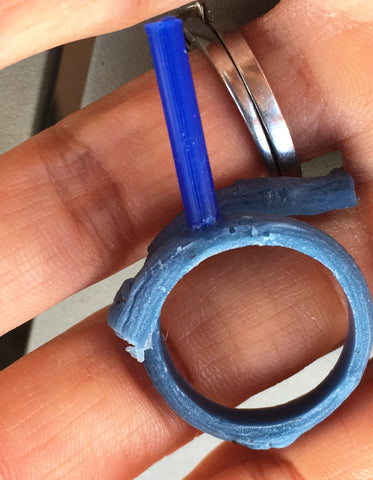
Finally, I add 2 sprues, one on each end, which created the channel through which the metal will be injected when being cast.
Materials used: Mold Star 30 http://modelshop.co.uk/Shop/Item/Mold-Star-series-silicone-rubber/ITM7609, release agent http://modelshop.co.uk/Shop/Item/Universal-Mold-Release-aerosol/ITM6882
Casting Company: West 1 Casting, https://www.west1castings.co.uk/
Click here to view product.